User settings
By clicking on your profile picture in the upper right corner of the left panel you can access your account’s settings. From here you can either log out of the application, check your profile or settings.
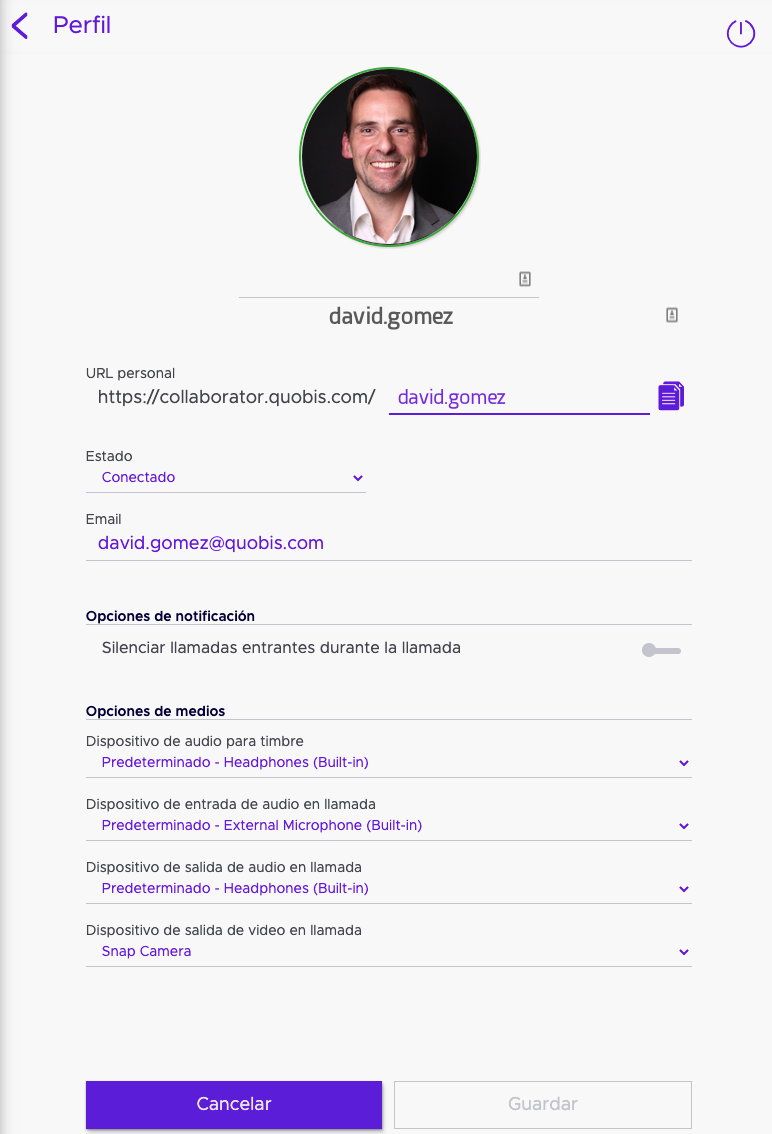
Your profile
By clicking on it, a new window will open to the right side of your screen where you will be able to configure and set your preferences.
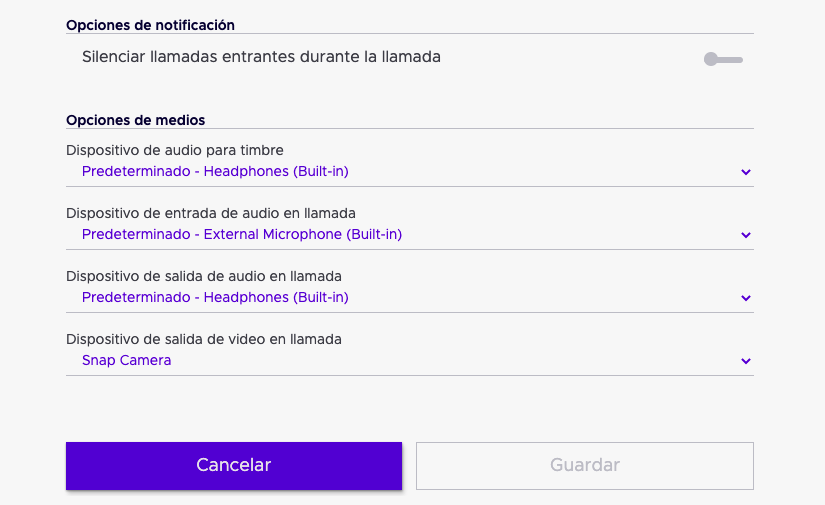
Notification settings
These settings, located at the bottom half of the profile screen, allow to modify how notifications are presented through the application.
Mute incoming calls during a call toggle. Will silence incoming calls ring when the user is already on a call. If this toggle is active only the visual notification method will be used, otherwise a subtle ringing will be reproduced in the background during the incoming call.
Personal URL
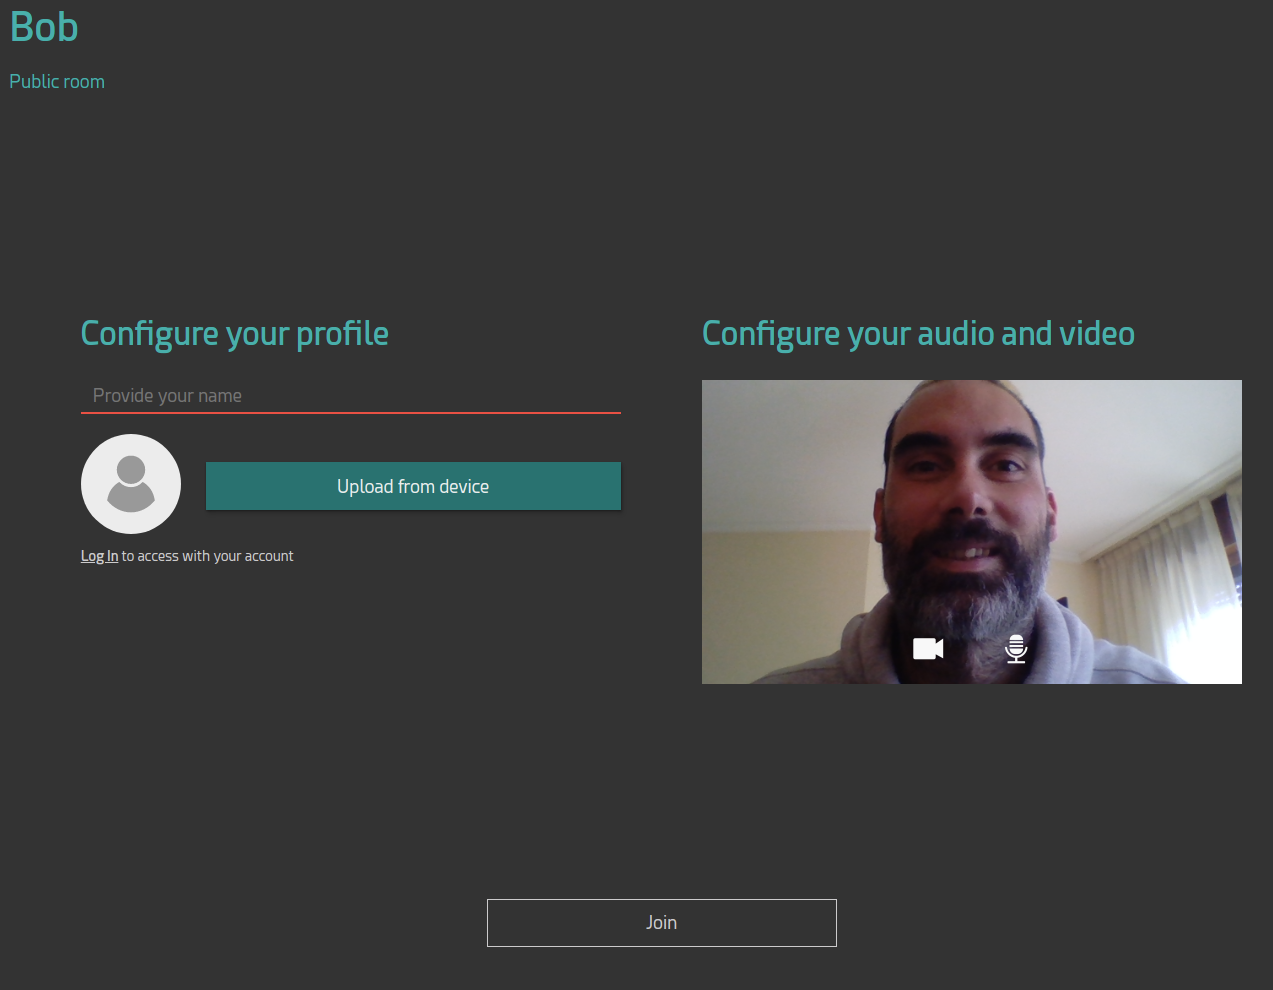
The “Personal URL” feature allows Collaborator users to share a link with anyone, that will be able to contact them using a web browser. The link recipients don’t need to have an account or any other credential in order to access the service.
When a link recipient opens a Collaborator user’s Personal URL, he will see the lobby website, where the participant will introduce, name and can upload a avatar that is named as that user’s personal room. This information is required in order to show it to the called so he knows who’s calling, as no authentication is required to the guest caller. If the link recipient has a Quobis Collaborator account and is already logged, this information will be optional and he/she will be directed straight forward to the conference with the user.
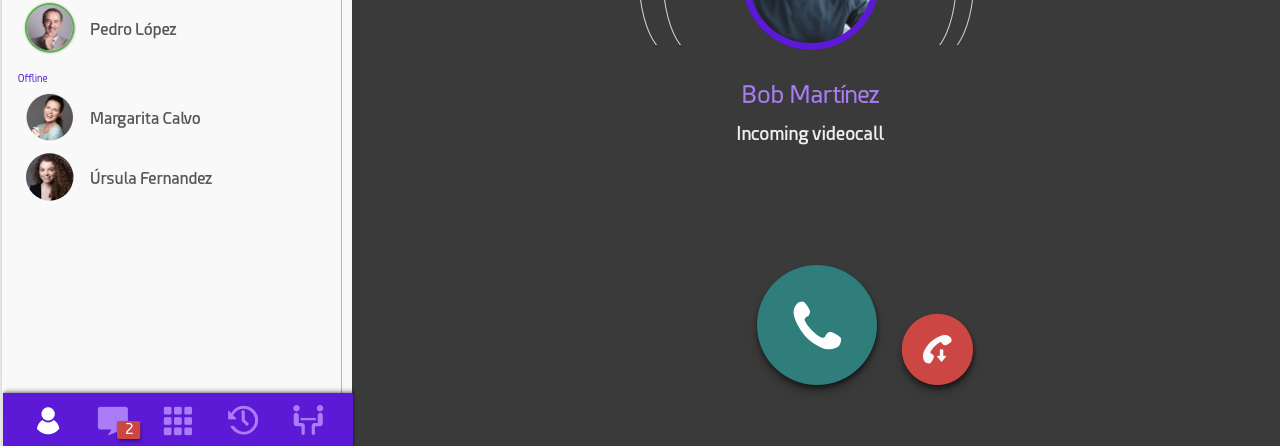
The Collaborator user will see an incoming call, the name of the caller and the avatar. Then, he can decide whether to answer the call or to cancel it and, once the call is setup, it can be managed as any other call so it can be transferred, put on hold, etc… and also more users can be added to that conference.
Once the call is finished, it will be shown on the call history with the name and avatar. Please note that, once the call is finished, the user cannot call the guest.
Since v7.1.1, the default personal URL of every user is in the form of its user ID, as for example, http://your-collaborator.com/p/user-id. Please note that the “alias” was used in older versions and that the “/p” prefix has been added.
Presence
After registration your presence state is “online” by default. In case you want to change it, you can select the state you want just by clicking on it.
By changing the state, your avatar will change its color, so they will know what is your current presence.
To check your state, look at your avatar. The frame of your photo will correspond to your current presence. Equally, you can find out in which presence state are other users by taking a look at the color of the presence icon of each contact.
 Online
 Busy
Busy
 Away
Away
 Offline
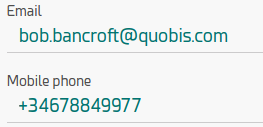
Phone number and e-mail
Under the presence management, can be found the e-mail and phone number which will be associated to the user. This can be mdified at any time but remember to save it after changing it.
Note
This option will be found right now on the Android native app, and will come shortly on the iOS app.
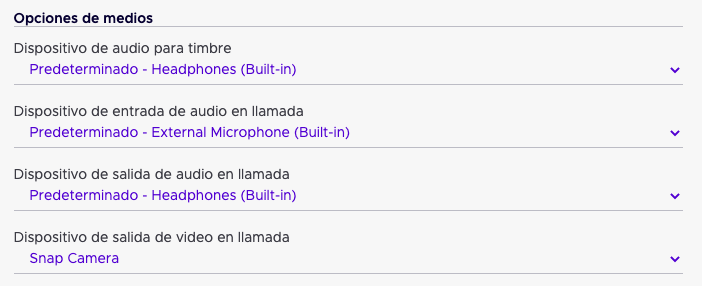
Media device selection
On the lower part of the profile, are placed the options to configure the media devices.

Ringing audio device:
Here you will set where the incoming call will sound, just the ringing. Let’s say you do have your Bluetooth headphones connected to the computer, but don’t want to hear the ringing on them, then leave it as default and it will sound on the built-in speakers.
In call audio output device:
Time to set where you do want to hear the audio, default for built-in speakers of your laptop or desktop speakers connected through the minijack. Choose your Bluetooh connected headset, if what you want is to get the in call audio on them.
In call audio input device:
In this option you can configure the audio input (how your computer captures audio). Here you could set the built-in microphone of your headset, leave it as default to use the built-in microphone of your laptop .
In call video input device :
This last option only needs to be changed in case you do want to connect another camera (assuming you are using a laptop), by default will be the built-in camera. The users that have a desktop computer (no built in camera) and no camera connected, no option will be shown in here until the device is connected to the system.
Bluetooth headset

Bluetooth built-in microphone

Built-in speaker

Built-in microphone

Webcam

This is an example of configuration:
Here I have the media set to have:
Ringing audio device of the call on the built-in speakers
In call audio input device on the Bluetooth headset
In call audio output device in the Bluetooth headset microphone
In call video input device on the built-in camera of the laptop
Things to have in consideration
Default is the equivalent of what your computer has as built-in, keep in mind each computer names the built-in according to their own standards.
Even the dropdown menu will show two options on the three first choices, the system can not distinguish between 3.5 jack and built-in speaker / microphone. All are considered the “Internal Audio Device”. Check this options without connecting any device to your system to know how your computer names the default audio device.
Remember to connect your Bluetooth headset before trying to select it, if you log in before connecting it to your system, it won’t show unless the browser is reloaded.
In case you deny permissions to the camera, microphone or no device is detected, a “no device” flag will be shown.
Each sound will be played / captured only from one device, this will prevent possible echo problems and incorrect behaviors.
Remember to save your changes on the save button at the very bottom.