Making calls
Media permissions
A message similar to the next one will appear below the navigation bar of your browser’s window when trying to make a call on the application, if it doesn’t check if your browser has support for WebRTC.
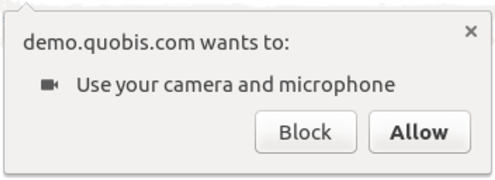
It is important to make sure that you click Allow, otherwise the camera and microphone won’t work. Clicking on Deny button means that you do not give your consent to use your peripherals to make a call. Once you give permission, everything will be ready to make an audio or video call. In case that you have more than one device connected to your computer or smartphone (for instance, two webcams) you can change the default device in the settings panel.
Note
If you accidentally deny the device access, click on the red crossed microphone to reactivate and reload.
Users who don’t have a camera (or have denied access to it) are still able to make and receive calls. In such situation, audio is sent from both users ends but video is sent in half-duplex mode (only from the user who has a camera to the user who has not). These are the two situations:
If user A (which does not have a camera or has denied access to it) receives a video call from user B, user A will receive audio and video from user B, but user B will receive only audio from user A. This behavior is fixed and cannot be changed by configuration.
If this same user A makes an audio call to user B, then the call will be full duplex audio but with no video at all. In such situation, once the call is setup, user B can activate its camera and then half-duplex video will be added to the call (from user B to user A).
Starting a call
To start a call session from Quobis collaborator, there are multiple ways to do it.
Call from the agenda
Call from the call history
Call from the dialpad
We will go in detail over them on the following sections.
Start calls from contacts
Go to the contacts tab  . From contacts simply choose which contact you want to call, click on it and once selected, click the phone icon for audio call or the video camera for the audio / video call. Other actions are also available from this contact submenu.

 Start audio call
 Start video call
 Start 1-to-1 chat session
 Open contact details
Start calls from dialpad
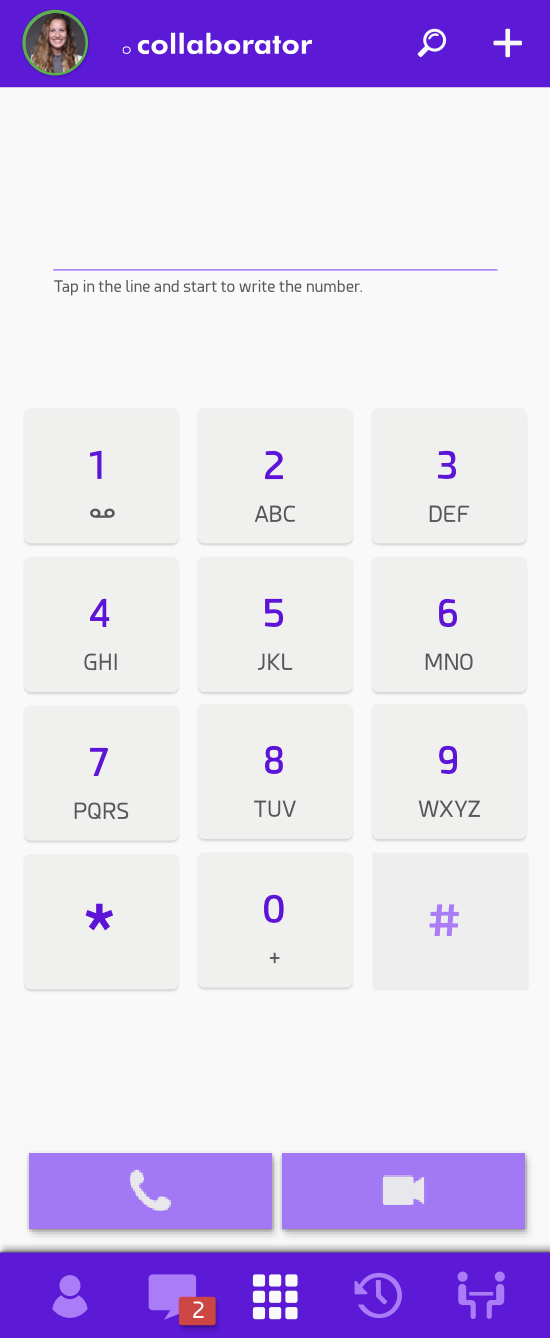
Go to the dialpad tab  . The dialpad can be used to dial to phone numbers. You can click on the numbers 0 through 9,
 # key and * key. It is also possible to type the number using your keyboard or to paste it into the designated area. Start the call by clicking on one of the icons at the bottom of the dialpad.
Once you are in a call, the functionality of this screen changes as it is used to send DTMF tones over the line. You can’t call other users from this section while you are in a call, you will need to used a dedicated button for this purpose. See section Adding participants to a call
Start calls from the call history
Go to the Call history tab  :
:
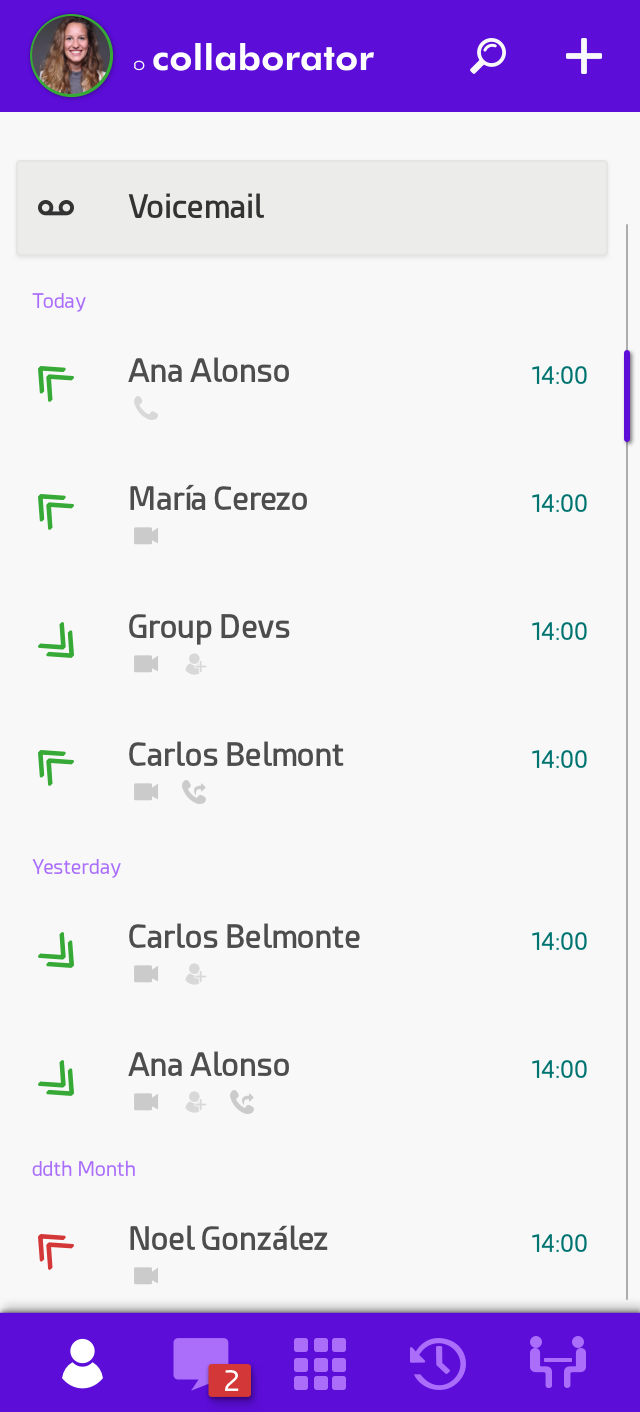
Example of call history (desktop version)
From here, select a previous session to instantly start a call with your partner. By clicking on a new panel be displayed showing information about the call and allowing you to select to start an audio or a video session with the selected contact.
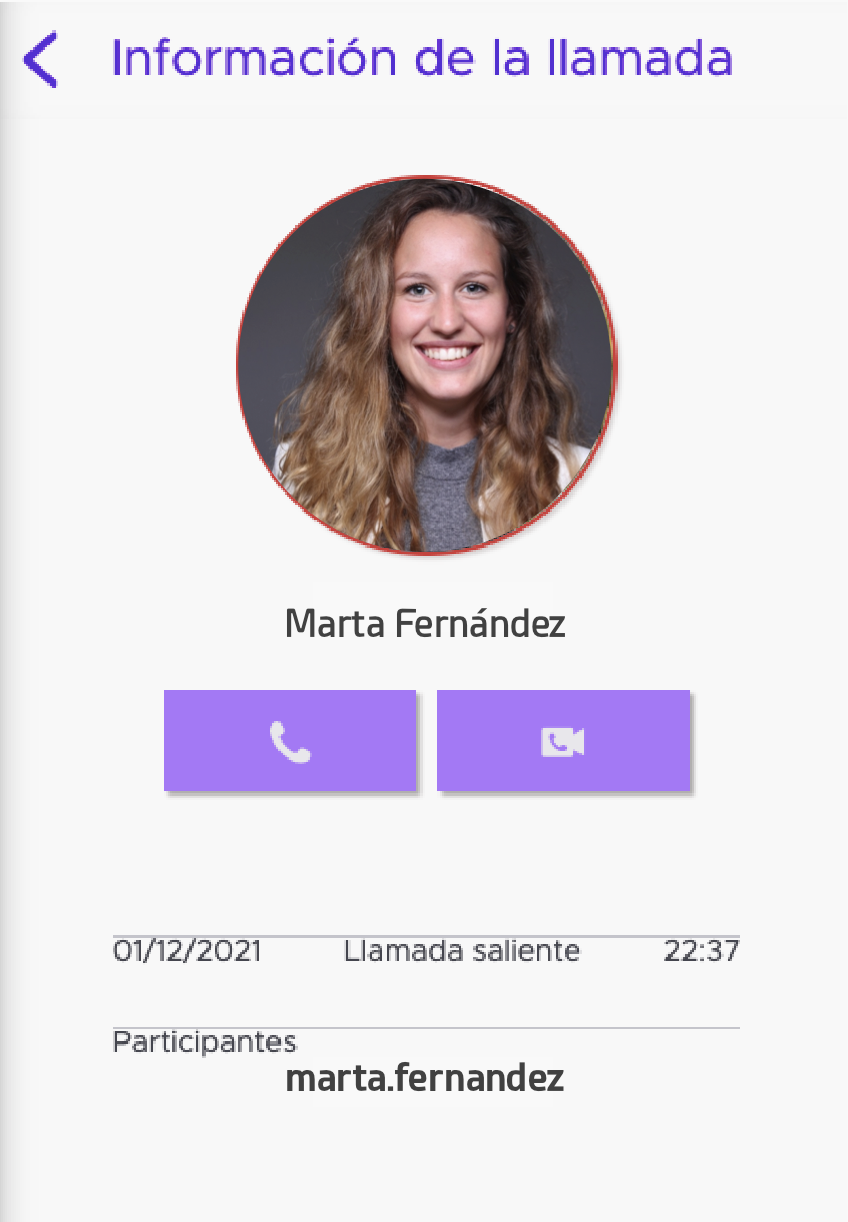
Please note that calling is done via “left-swipe” on the desired entry in mobile versions, as shown in the picture below:
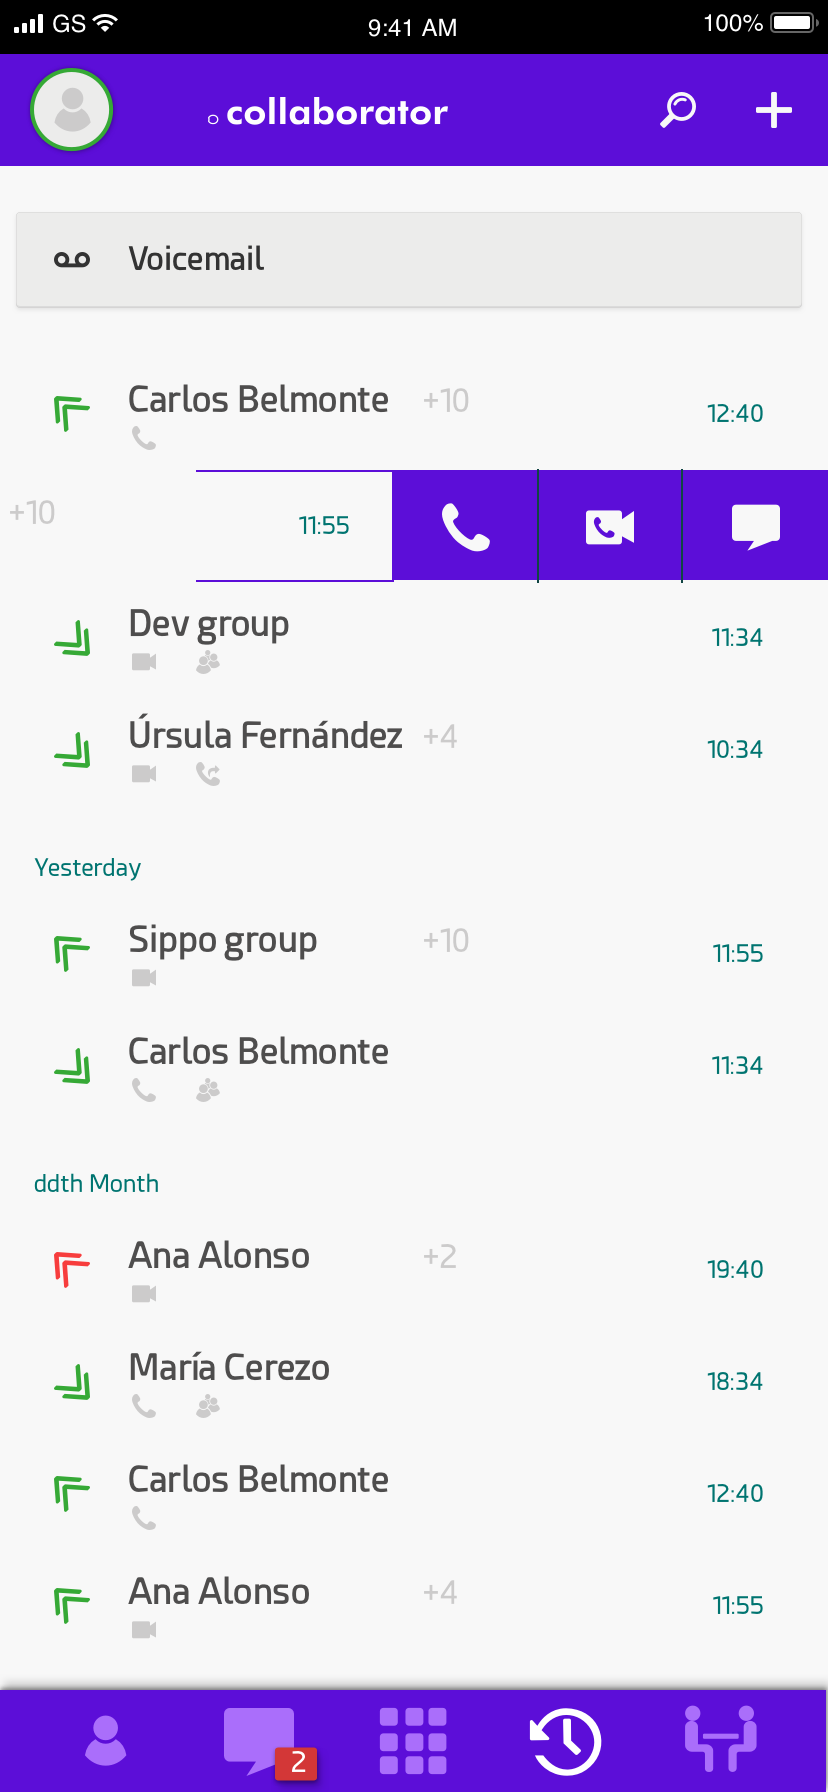
Example of call history (desktop version)
Call layout
Default layout
In case your system admin have set the system with the default layout (also referred to as “legacy view”), the call view with be sorted with the avatar thumbnails of each participant. If it is a videocall the videos of each participant will be set on those thumbnails, having the option to “pin participant”. “Pin participant” is an action done by right-clicking on a desired thumbnail and making that participant the main view of the call regardless of other people joining afterwards. If the user does not pin a participant the main view will show the last participant joined.
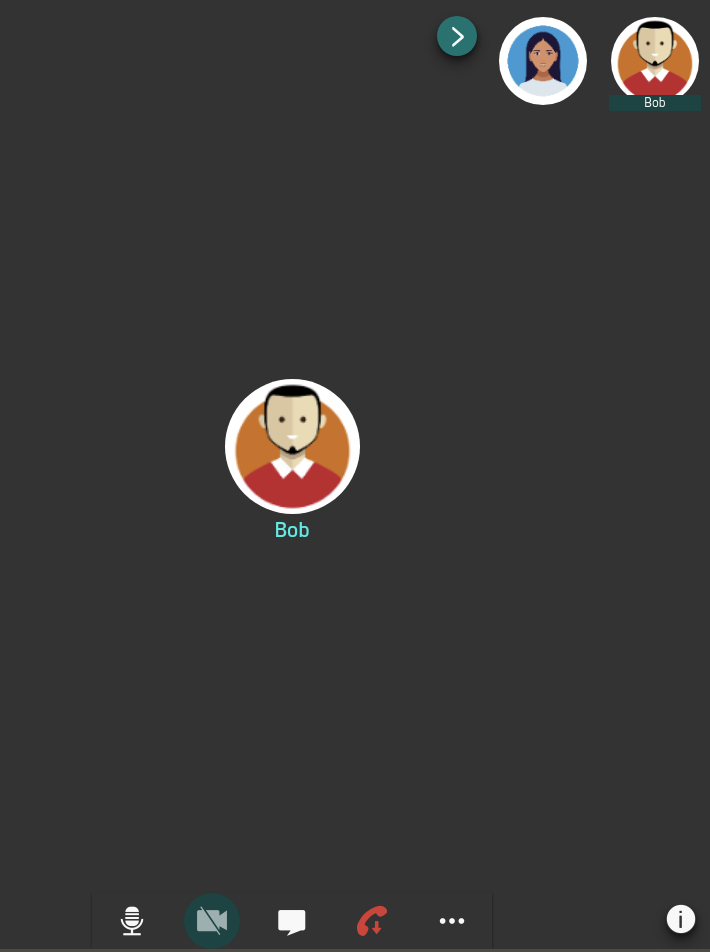
Example of default layout
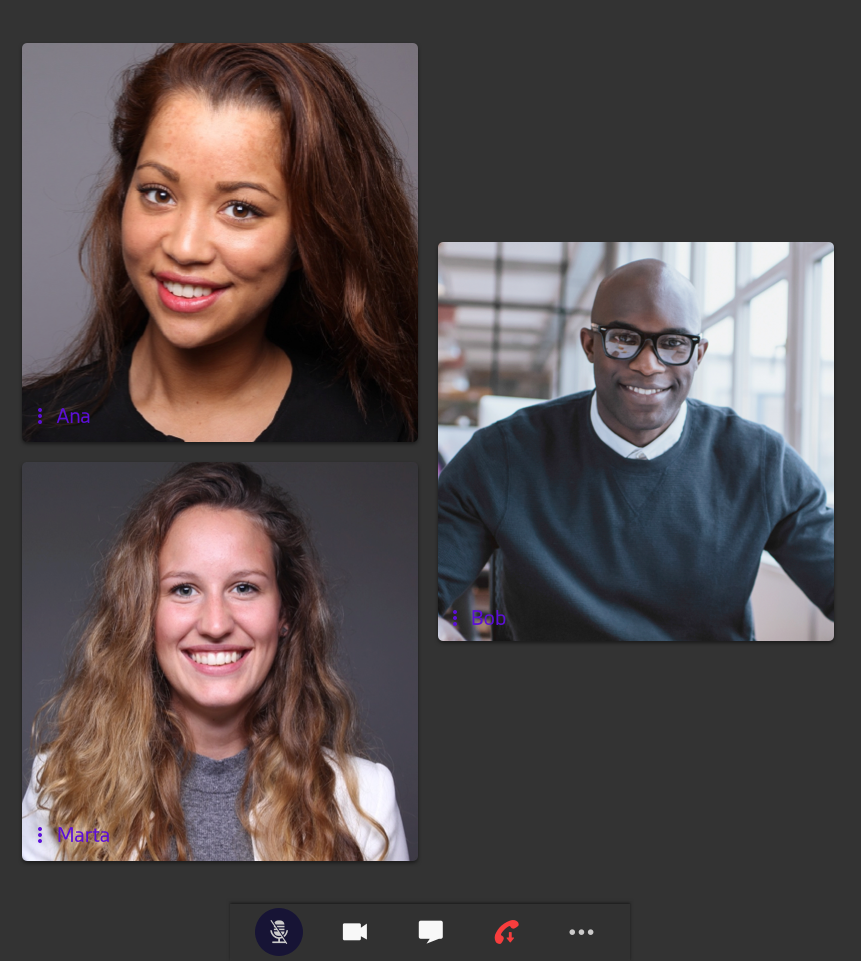
Grid layout
The grid layout is an adaptation of the layout to the context of the call, this means that depending on the context point of the call the view will adapt to smoothen the user’s experience. When a third participant joins a call, the grid layout will adapt the view to have all the participants at the same level.
If a participant starts to screensharing, the layout will be converted to default layout to be able to see all the participants in the thumbnails and have the screensharing as the main view.

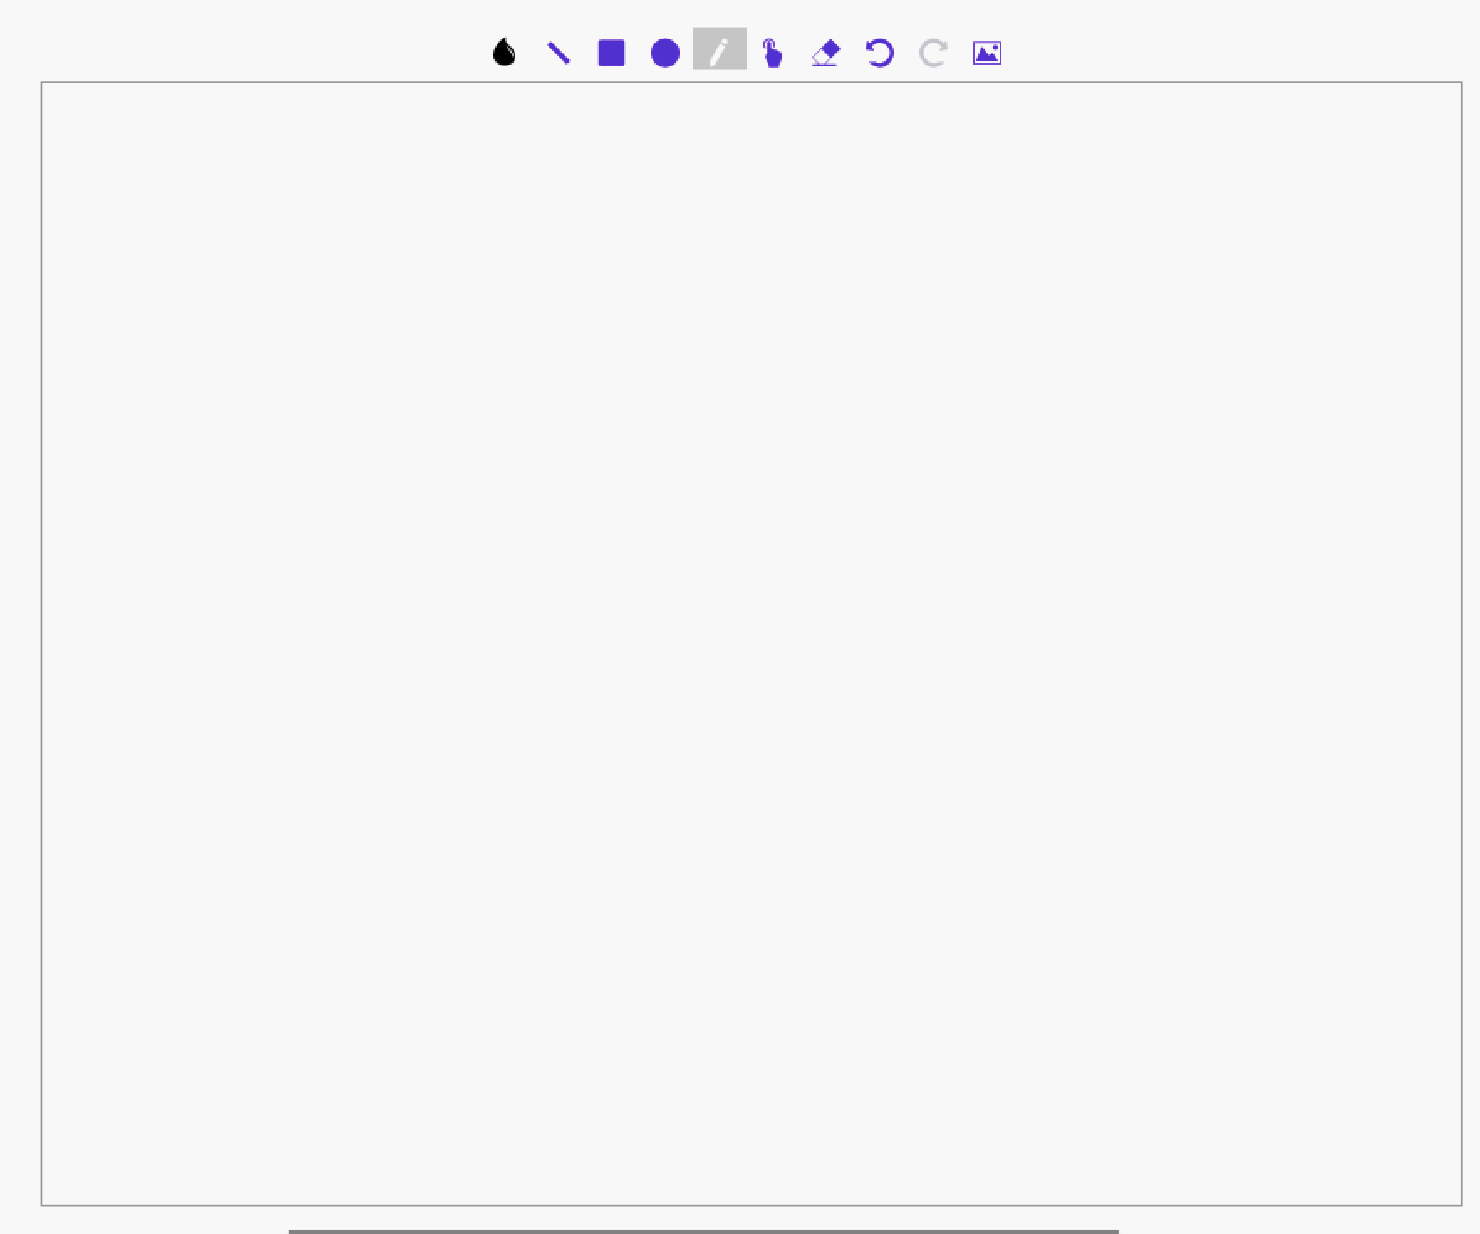
If a participant starts the whiteboard, the layout also will be converted to legacy layout, having the whiteboard covering the whole screen.
Note
Canceling an call before being accepted is still not implemented on this view.